There is something truly satisfying about picking up a needle and thread and creating. It’s not something I do much anymore, so I was pleased when my son asked if we could sew something together. With that as the ‘brief’ we set out as a family to nearest fabric store (which sadly is now a 30 minute drive away). We rummaged around the “ends” bin for pieces of fabric and we ended up buying some blue fleece and a big bag of polyester stuffing. $12 later 🙂 we headed home to see what other things we could find for inspiration.
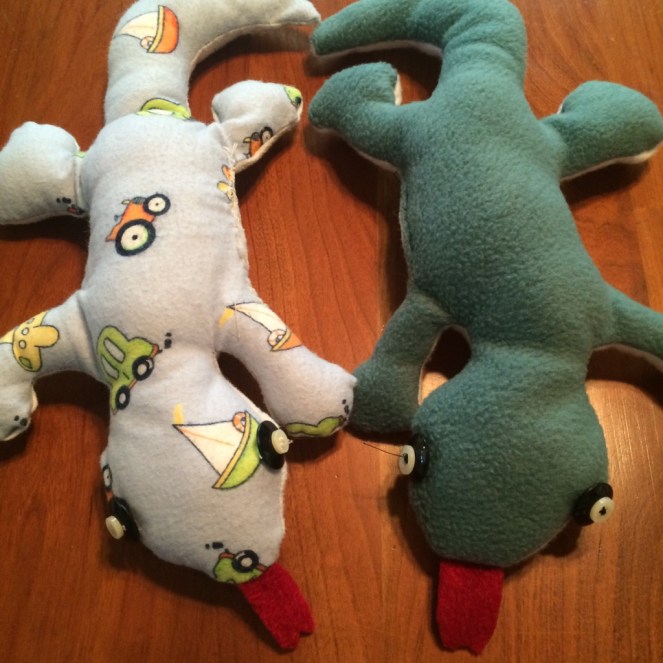
The original idea was to create a stuffed dragon, but after several failed designs we decided it was probably above our pay grade and we went to Google in search of simple stuffed animal ideas. We stumbled upon this super cute gecko pattern and we were off to the races. This is such a simple design that anyone can do it. We created one version out of the fabric we had bought along with some random buttons for eyes. And we created the second out of fabric from my youngest son’s flannel baby blanket. So now, not only does he have a super cute new little friend, but it is made from the fabric that he has found comforting since he was a born.
I encourage you to dust off your sewing machine or pick up a needle and thread and see where it takes you.
Super snuggly gecko
What you will need:
Paper to make a pattern
3 different colours of fabric – one for the top, one for the bottom and one should be red for the tongue
Pins
Stuffing
Sewing machine
Needle and thread
Buttons for the eyes
Directions:
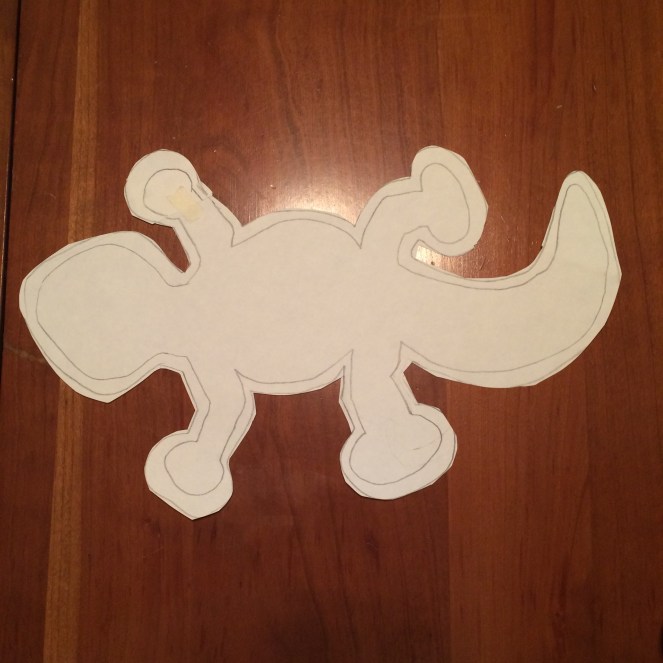
Start by creating the patten on a piece of paper. I did this free-hand and added a little bit extra around the edge for the seam. The length of the pattern was approximately 8 inches. But you can make it as big or small as you want.
Put the two pieces of fabric together with the sides you want on the outside facing in. My son chose blue for the top and white for the bottom of the gecko. Pin the pattern to the two pieces of fabric and cut around the outside of the pattern.


Remove the pins and pattern and replace the pins directly into the fabric.

My son had the idea to add a tongue, so he cut one out using red fabric and we pinned it on the inside of the two pieces of fabric so that it would be sticking out when we were done.

Using your sewing machine (or you can do this by hand) sew around the edge, make sure to leave an opening on the side so that you can insert the stuffing. When you’re done sewing, flip the fabric inside out so the seams are now inside. You may need to use the end of your scissors or a knitting needle for the legs and tail.
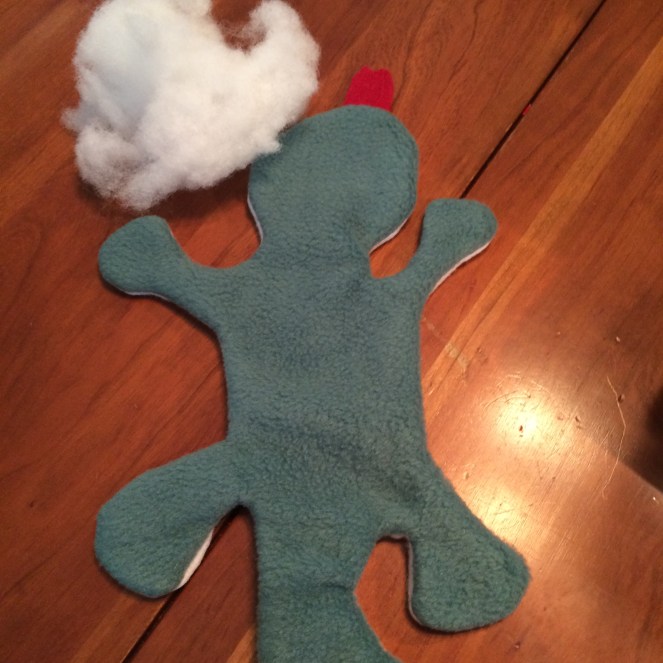
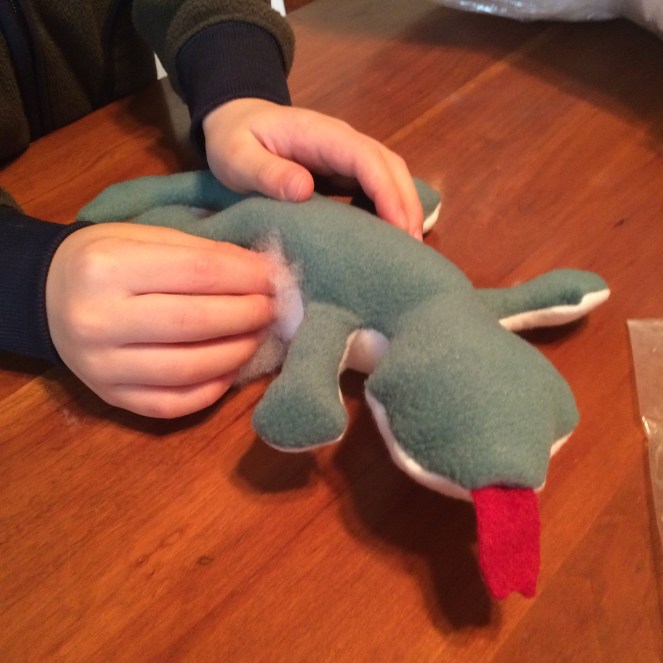
Now it’s time to stuff. My son took over at this point and stuffed the gecko and sewed up the opening on the side.
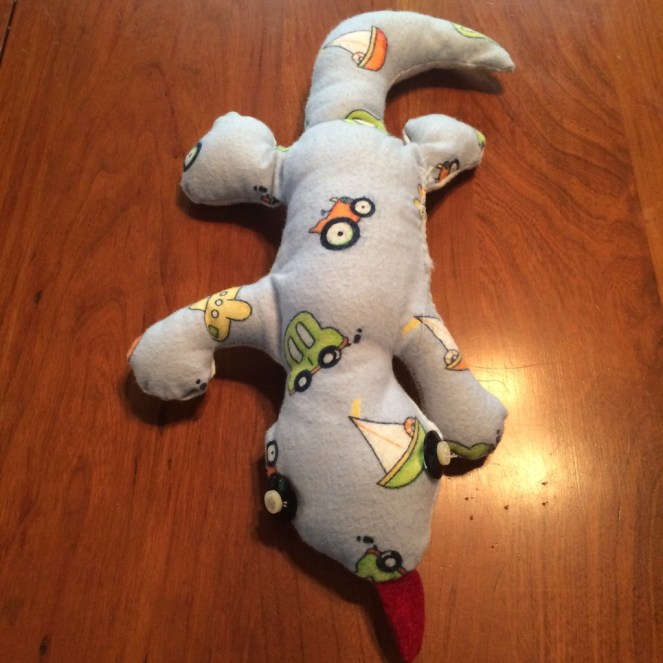
Finally he went in search of just the right eyes from my button collection.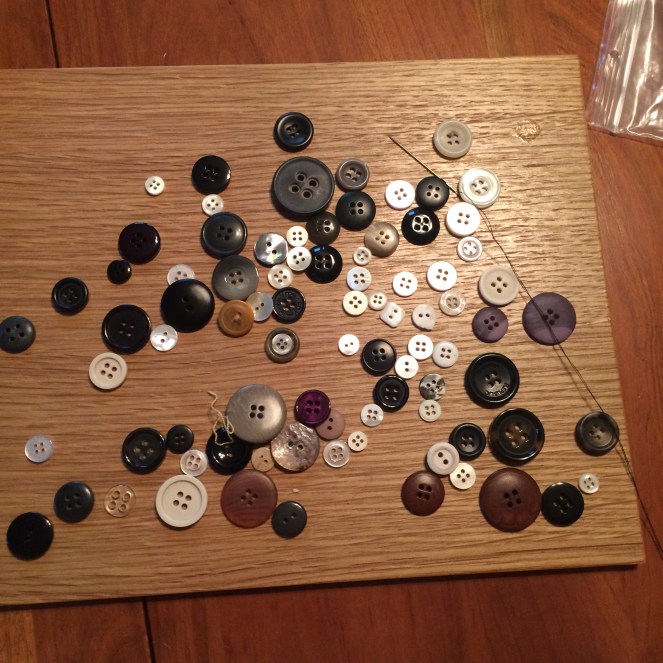
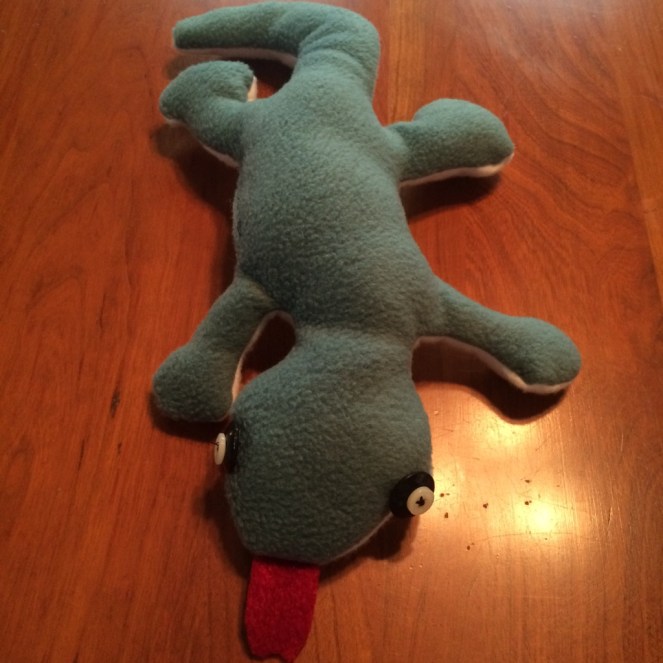
He settled on black with a small white one on top of each to make them appear “bulgy” like a real gecko. 🙂
I helped him sew them onto the side of head and here is the final product.
And, as I mentioned, I felt compelled to create one for my youngest. I used the fabric from one of his baby blankets, and this little critter is now a member of our family.